
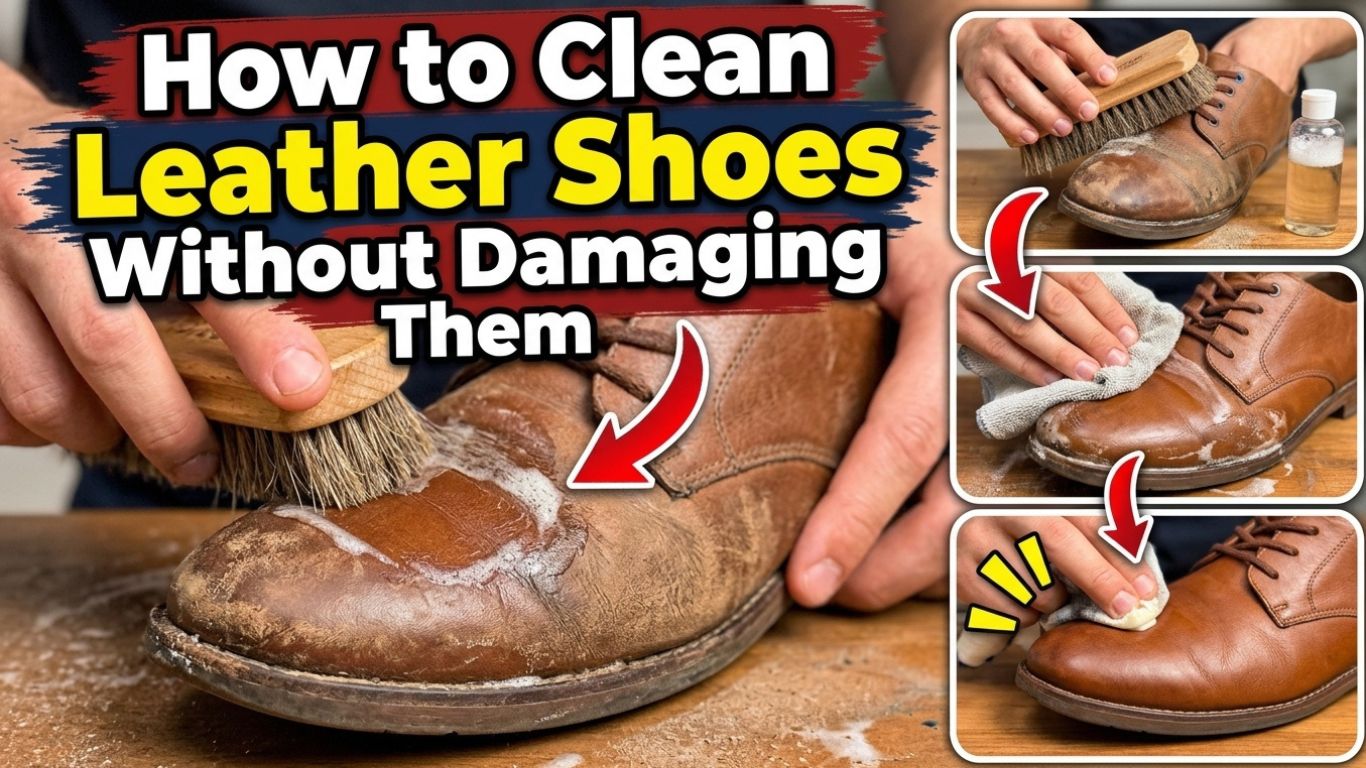
How to Clean Leather Shoes Without Damaging Them
To clean leather shoes, remove the laces, brush off loose dirt, wipe the surface with a soft cloth dampened with water and a small amount of leather cleaner or saddle soap, wipe away any residue, let the shoes dry naturally at room temperature, and finish with a leather conditioner.
The key to cleaning leather shoes without damaging them is to use as little water as you can, avoid heat, and treat the leather afterwards so it doesn’t dry out.
This guide covers how to clean leather shoes at home, how to remove dirt and stains, what to look for in the best leather shoe cleaner, and the mistakes that most often ruin a good pair.
Know Your Leather First
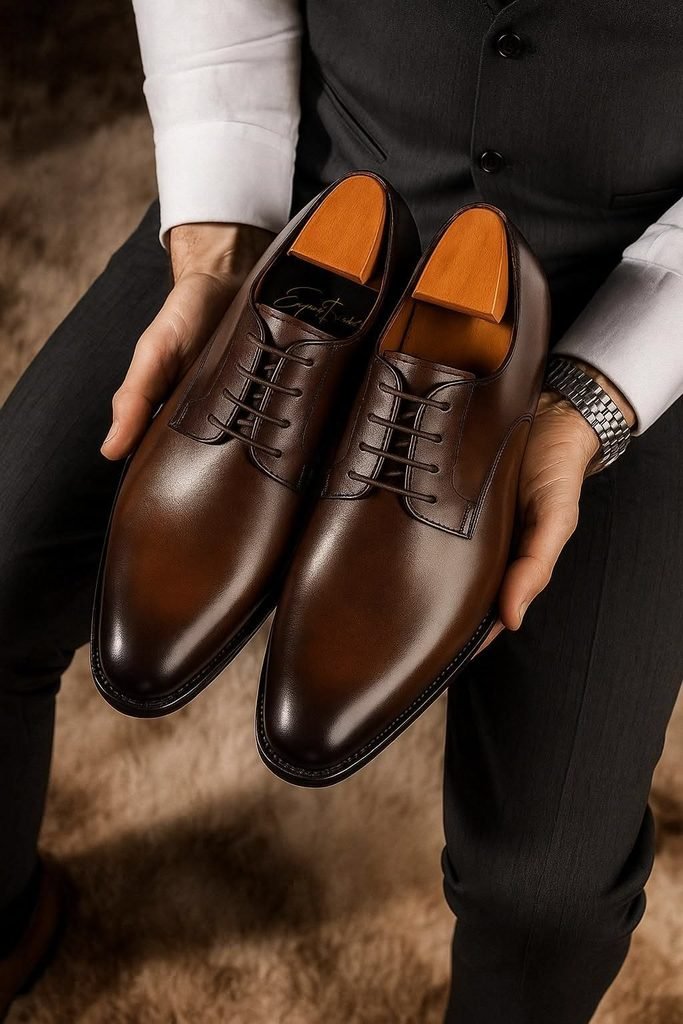
“Leather” covers several finishes, and the right method depends on which you have. Check the care label or the manufacturer’s website if you’re unsure.
| Leather type | What it looks like | Cleaning approach |
|---|---|---|
| Finished (smooth) leather | Most dress shoes, boots and many sneakers; has a protective coating and a smooth surface | The standard method in this guide works well |
| Patent leather | Very glossy, plastic-like coating | Wipe with a damp soft cloth; avoid abrasive products |
| Aniline or unfinished leather | Soft, natural look; absorbs liquid and marks easily | Use very little moisture and test everything first |
| Suede and nubuck | Velvety, napped surface | Don’t use this method; use dedicated suede or nubuck care instead |
| Faux (synthetic) leather | Leather look, plastic backing | Usually fine with mild soap and a damp cloth; avoid heavy conditioners |
A quick test for finish: place a single drop of water on a hidden spot. If it beads up, the leather is finished. If it soaks in and darkens the leather quickly, it is more absorbent, and you should be extra cautious with moisture.
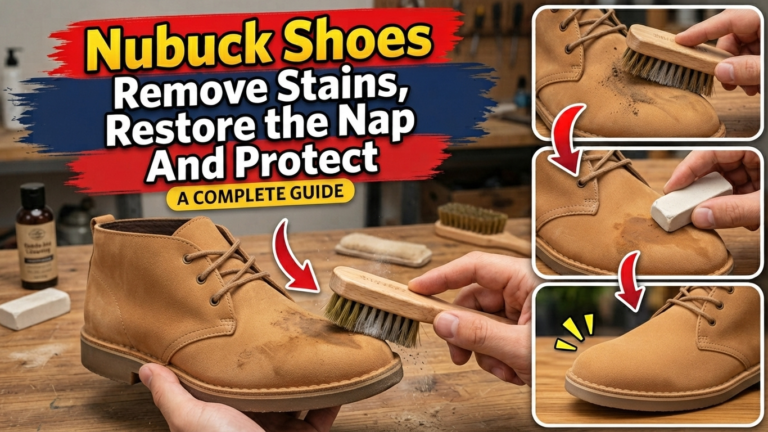
Read also: How to Clean Nubuck Shoes: Remove Stains, Restore the Nap and Protect the Finish
What You Need
| Item | Purpose | Notes |
|---|---|---|
| Soft brush (horsehair is common) | Removes dust and dry dirt | Natural bristles are gentle on the finish |
| Soft cloths (microfibre or cotton) | Wiping, applying products, buffing | Use clean, undyed cloths |
| Leather cleaner or saddle soap | Lifts grime from the surface | Choose one made for the type of leather you have |
| Mild soap (optional) | A simple alternative cleaner | Use sparingly, and test first |
| Leather conditioner | Replaces moisture and keeps leather supple | Apply after the shoes are dry |
| Old toothbrush | Cleans welts and stitching | Soft bristles only |
| Shoe trees or plain paper | Holds shape while drying | Cedar shoe trees also absorb moisture |
| Polish or cream (optional) | Restores colour and shine | Match the shade to your shoes |
How to Clean Leather Shoes at Home, Step by Step
- Remove the laces and pull the tongue forward so you can reach all of the leather. Wash laces separately or replace them.
- Brush off loose dirt. Use a soft brush on the uppers, welts and seams. Dried mud should be left to dry and crumbled off first.
- Wipe the shoes. Dampen a clean cloth with water, wring it out until it is barely damp, and wipe the whole shoe to lift surface dust.
- Apply cleaner. Work a small amount of leather cleaner or saddle soap onto a damp cloth, then wipe the shoe in gentle circles, section by section. Follow the product instructions. Don’t soak the leather or leave soap sitting on it.
- Clean the seams. Use an old toothbrush for stitching, welts and creases, where dirt collects.
- Remove residue. Wipe the shoes with a second clean, damp cloth so no soap film remains, then pat dry with a dry cloth.
- Dry naturally. Stuff with shoe trees or plain paper and leave at room temperature away from direct heat and sunlight. Allow several hours to a full day.
- Condition. Once fully dry, apply a thin layer of leather conditioner with a soft cloth, let it absorb, and buff off any excess.
- Polish if you like. Cream or wax polish in a matching colour restores shine and covers minor scuffs. Buff with a clean brush or cloth.
How to Remove Dirt From Leather Shoes
- Dust and light dirt: a soft brush and a barely damp cloth are usually enough.
- Dried mud: let it dry completely, brush it off, then wipe with a damp cloth. Wiping wet mud grinds grit into the finish.
- Grime in creases and welts: use a toothbrush and a tiny amount of cleaner, then wipe away residue.
- Dirty soles: clean rubber or leather soles separately with a damp cloth, keeping moisture off the uppers where you can.
Choosing the Best Leather Shoe Cleaner
There isn’t one best product for every pair, so it helps to know what the main types do.
| Cleaner type | Best for | Limitations |
|---|---|---|
| Saddle soap | General cleaning of finished leather | Can leave residue if not wiped off; some formulas may darken certain leathers; not for suede or nubuck |
| Leather cleaner (liquid or foam) | Regular cleaning and stains | Check it is suitable for your leather type and colour |
| Mild soap and water | Light cleaning when you have nothing else | Must be used very sparingly; can dry out leather if overused |
| Combined cleaner-conditioner | Quick maintenance | Less thorough than doing both steps separately |
| Specialist patent leather cleaner | Patent finishes | Not for other leathers |
When choosing, look for a product that clearly states the leather type it is for, avoid anything with harsh solvents, and follow the manufacturer’s instructions. A small test on a hidden area is more reliable than any brand name.
Dealing With Specific Marks and Stains
| Problem | What to try | Cautions |
|---|---|---|
| Scuffs | Rub gently with a soft cloth, then use a matching cream polish | Don’t use abrasive pads on finished leather |
| Water spots | Dampen the entire panel lightly and evenly with a cloth, dry naturally, then condition | Uneven dampening can leave a new ring |
| Salt stains | Wipe with a cloth dampened with diluted white vinegar (about equal parts with water), let dry, then condition | Test first; vinegar can dry out leather, so conditioning is essential |
| Grease or oil | Blot, then cover with cornstarch or talcum powder for several hours and brush off | Old stains may need a professional |
| Ink | Test a leather-safe cleaner on a hidden spot; otherwise see a cobbler | Alcohol and solvents can strip colour and finish |
| Creasing | Condition and use shoe trees | Deep creases can’t be removed completely |
| Mould or mildew | Wipe with a cloth lightly dampened with diluted white vinegar, dry well, then condition | Heavy or recurring mould is best handled by a professional |
Drying Leather Shoes Correctly
Drying is where many careful cleaning jobs are ruined.
- Never use a hairdryer, radiator or direct sun. Heat dries out leather, which can lead to stiffness and cracking.
- Use shoe trees or paper to keep the shape. Replace damp paper.
- Allow shoes to dry fully before conditioning or polishing.
- If shoes are soaked, stuff them with paper, change it as it dampens, and dry slowly.
Common Mistakes to Avoid
| Mistake | What can happen |
|---|---|
| Soaking the shoes or using the washing machine | Warping, stiffening and stains |
| Drying with heat | Cracking and shrinkage |
| Skipping conditioner | Dry, brittle leather over time |
| Over-conditioning | Greasy, sticky surface and softened leather |
| Using household cleaners, bleach or strong solvents | Stripped colour and damaged finish |
| Using a harsh brush or abrasive pad | Scratches and dull patches |
| Not testing first | Unexpected darkening or discolouration |
When to See a Professional
Take your shoes to a cobbler or specialist if you have deep cracks, sole separation, heavy stains, mould that returns, significant colour loss, or an expensive or sentimental pair. Resoling and refinishing are generally better left to a professional.
How to Keep Leather Shoes Clean and Healthy
- Wipe or brush after wearing to keep dirt from settling in.
- Use shoe trees to absorb moisture and hold shape.
- Rotate pairs so each can rest and dry out between wears.
- Condition every few months, or more often in dry climates or after wet weather.
- Apply a protector suited to your leather type for added water and stain resistance.
- Store in a cool, dry, ventilated place, and avoid sealed plastic bags.
You can also watch this video for an alternative method.
Frequently Asked Questions
Can I clean leather shoes with soap and water?
Yes, for finished leather, a barely damp cloth with a small amount of mild soap can work. Wipe off all soap afterwards, dry naturally, and condition. Don’t soak the shoes, and avoid this on suede, nubuck and very absorbent leathers.
How often should I clean leather shoes?
Brush or wipe them after wear, do a proper clean when they look dirty, and condition every few months. Heavy use, wet weather and dry climates may call for more frequent care.
What is the best homemade cleaner for leather shoes?
A damp cloth with a drop of mild soap is the simplest option, and diluted white vinegar can help with salt marks. Test first, and always follow with conditioner, since home remedies can dry leather.
Can I use baby wipes or glass cleaner on leather shoes?
It’s best not to. Wipes can contain ingredients that leave residue or damage the finish. Some people use glass cleaner on patent leather, but a damp cloth or a patent-specific cleaner is a safer choice.
How do I get creases out of leather shoes?
You can reduce them but not erase them entirely. Condition the leather and stuff the shoes with shoe trees while they dry. Deep creases are part of the leather’s wear.
Do I need conditioner every time I clean?
Not always, but cleaning removes some of the leather’s natural oils, so conditioning after a proper clean helps prevent drying and cracking. Use a thin layer and buff off the excess.
Conclusion
Cleaning leather shoes well is mostly about restraint: brush first, use a barely damp cloth and a suitable cleaner, remove all residue, dry slowly at room temperature, and condition afterwards.
Check your leather type, test products on a hidden spot, and avoid soaking, heat and harsh chemicals.
With regular brushing, shoe trees and occasional conditioning, a good pair of leather shoes can look good for many years. When damage goes beyond surface dirt, a cobbler is the best next step.
Read also:
One Comment